
You don't need a law degree or a million-dollar server farm to build the future of digital agreements. In fact, you can write, test, and launch your first smart contract in under twenty minutes using free tools available right now on your browser. But here is the catch: once that code hits the blockchain, it is immutable. You cannot edit it. You cannot delete it. If there is a bug, it stays there forever.
This permanence is what makes smart contracts so powerful-they are trustless and automated-but it also raises the stakes significantly. Whether you are looking to tokenize assets, automate payments, or just understand how decentralized finance (DeFi) works, getting the deployment process right is non-negotiable. This guide walks you through creating a functional contract from scratch, testing it safely, and deploying it to a live network without wasting money on gas fees during the learning phase.
Understanding the Core Components of a Smart Contract
Before typing a single line of code, you need to visualize what a smart contract actually is. It is not a legal document in the traditional sense. It is a self-executing program stored on a blockchain network. When predefined conditions are met, the code executes automatically, transferring value or updating records without any human intervention.
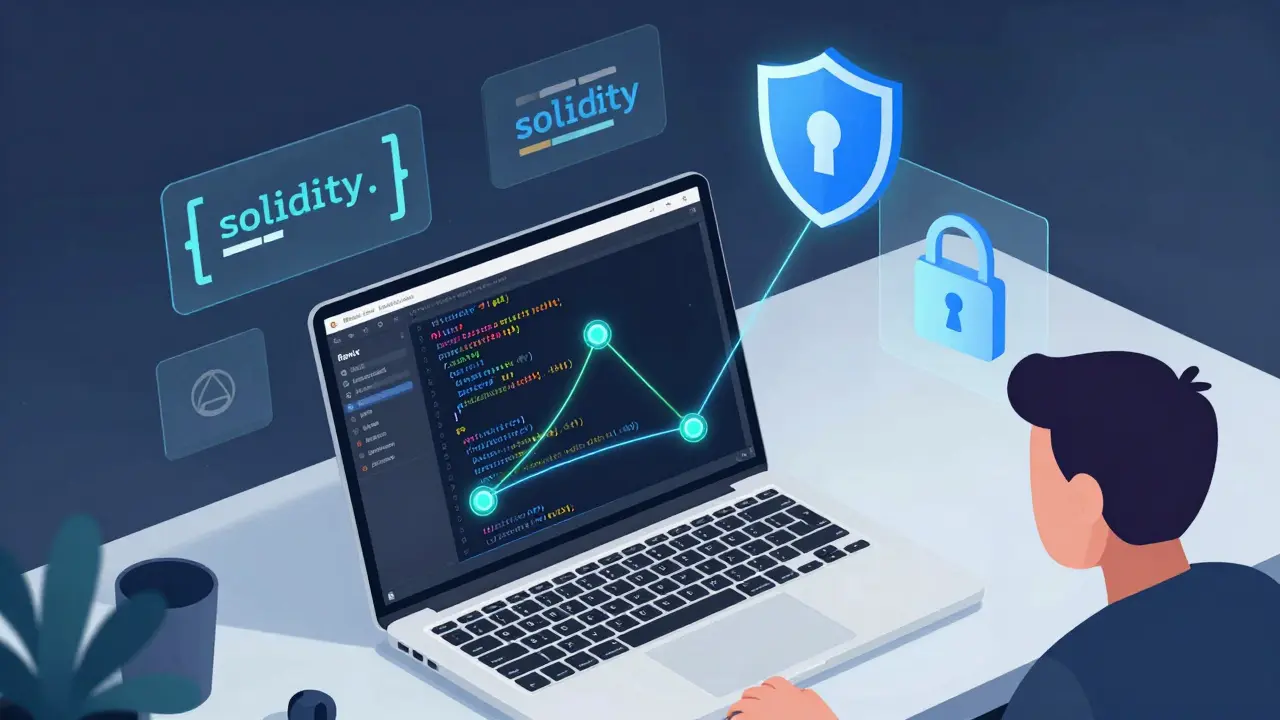
Most developers start with Ethereum, the dominant platform for smart contracts since its launch in 2015. To build on Ethereum, you typically use Solidity, a programming language specifically designed for this purpose. Think of Solidity as JavaScript if it were obsessed with security and financial transactions. It is statically typed, meaning you must declare variable types explicitly, which helps catch errors before they become expensive mistakes.
A basic smart contract consists of several key parts:
- SPDX License Identifier: A comment at the top declaring the open-source license (e.g., MIT). This is standard practice for transparency.
- Pragma Directive: Specifies the version of the Solidity compiler required to run the code. This ensures compatibility across different environments.
- State Variables: Data that is permanently stored on the blockchain, such as a token balance or an owner address.
- Functions: The executable logic that allows users to interact with the contract, such as sending tokens or changing settings.
- Events: Notifications sent to the blockchain when something happens, allowing external applications (dApps) to react to changes.
Setting Up Your Development Environment
In the past, setting up a local blockchain environment was a nightmare involving complex command-line installations. Today, you can skip all that friction by using Remix IDE. Remix is an open-source, web-based integrated development environment that runs entirely in your browser. It provides a compiler, a debugger, and a deployment interface all in one place.
To get started, simply navigate to the Remix website. You do not need to create an account, although saving your work to a GitHub repository is recommended for version control. Once inside, you will see a file explorer on the left, a code editor in the center, and various plugins on the right. This setup is perfect for beginners because it removes the need to configure local node connections or manage wallet keys manually during the coding phase.
If you prefer a more robust local setup for larger projects, tools like Hardhat or Foundry are industry standards. Hardhat uses JavaScript/TypeScript for configuration, while Foundry uses Solidity itself for testing, offering faster compilation times. For this guide, however, we will stick to Remix for its accessibility and immediate feedback loop.
Writing Your First Smart Contract
Let’s create a simple "Storage" contract. This contract will allow anyone to set a number and retrieve it later. It is the "Hello World" of blockchain development but teaches you the essential mechanics of state management.
- Create a new file in Remix named
Storage.sol. - Add the SPDX identifier and pragma directive:
// SPDX-License-Identifier: MIT
pragma solidity ^0.8.20;
Note the version `^0.8.20`. Solidity 0.8.x introduced automatic overflow and underflow checks, which prevents many common bugs where numbers wrap around unexpectedly. Always use the latest stable version unless you have a specific reason not to.
- Define the contract structure:
contract Storage {
    uint256 private number;

    event NumberChanged(uint256 newValue);

    function setNumber(uint256 _num) public {
        number = _num;
        emit NumberChanged(_num);
    }

    function getNumber() public view returns (uint256) {
        return number;
    }
}
Here is what is happening in this code:
uint256 private number;: This declares a state variable that stores a 256-bit unsigned integer. The `private` keyword means only this contract can access it directly, though remember: everything on the blockchain is technically visible to everyone.event NumberChanged...: This defines an event that triggers whenever the number is updated. Frontend applications listen for these events to update their user interfaces.setNumber: This function updates the state. It is marked `public`, meaning anyone can call it. Note that writing to the blockchain costs gas.getNumber: This function reads the state. It is marked `view`, indicating it does not modify the blockchain. View functions cost zero gas to call externally.
Compiling and Testing Locally
Never deploy untested code to the mainnet. The cost of failure is too high. Before moving forward, click the "Solidity Compiler" icon in the left sidebar of Remix. Select the appropriate compiler version (matching your pragma statement) and click "Compile Storage.sol". If there are no errors, you will see a green checkmark.
Next, switch to the "Deploy & Run Transactions" tab. Here, you can simulate the blockchain environment. Set the "Environment" dropdown to "JavaScript VM (London)". This creates a local, fake blockchain in your browser where you can test your contract without spending real cryptocurrency.
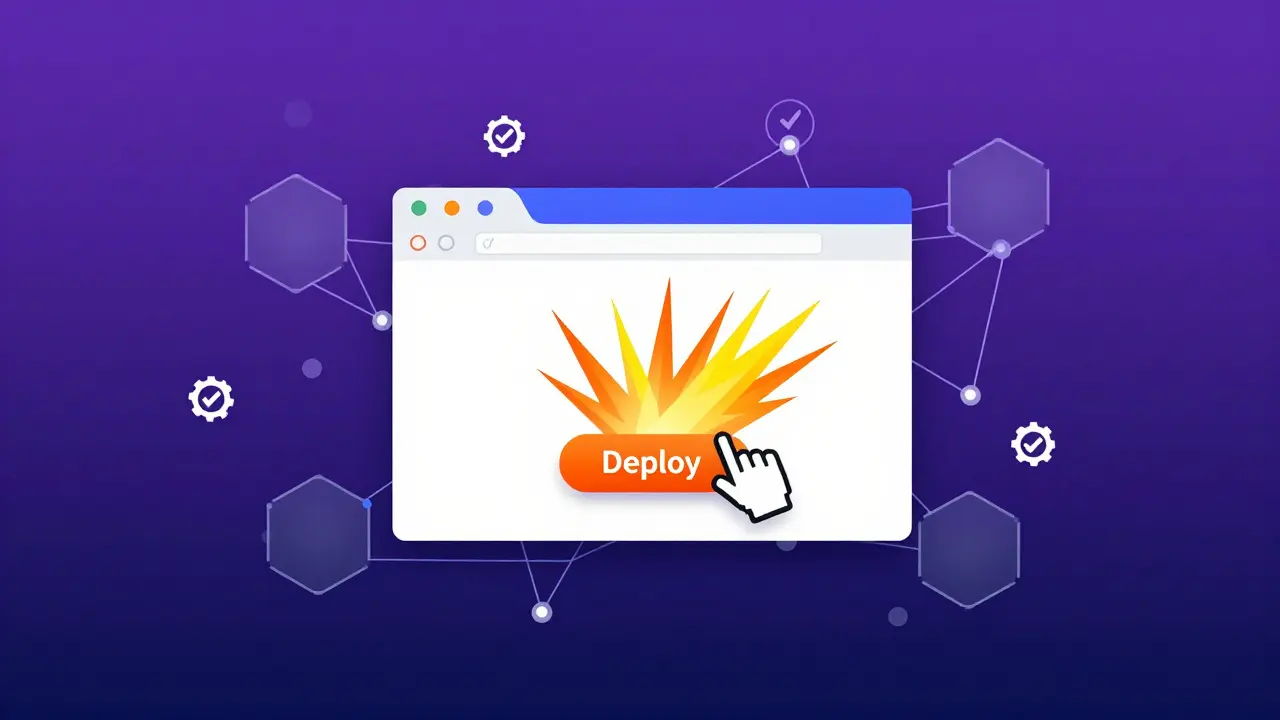
Click the orange "Deploy" button. Your contract will appear in the "Deployed Contracts" section below. Expand it and try calling getNumber. It should return 0. Now, enter a number in the setNumber input box and click "Transact". Watch the console output-you will see the transaction receipt and the emitted event. Click getNumber again, and it should return your new number. If this works, your logic is sound.
Preparing for Mainnet Deployment
Once you are confident in your code, it is time to prepare for the real world. Deploying to the Ethereum mainnet requires two things: a Web3 wallet and native currency (ETH) to pay for gas fees.
First, install MetaMask, the most popular browser extension wallet for Ethereum-compatible networks. Create a new wallet and securely back up your seed phrase. Never share this phrase with anyone. Next, fund your wallet with a small amount of ETH. You can buy it on an exchange and transfer it to your MetaMask address, or use a faucet if you are testing on a testnet.
For production deployments, consider using a testnet like Sepolia or Goerli first. These networks mimic the mainnet but use worthless test tokens. Faucets like Alchemy or QuickNode provide free test ETH. Deploying to a testnet allows you to verify that your wallet integration and transaction signing work correctly without financial risk.

Deploying to the Blockchain
Return to Remix. In the "Deploy & Run Transactions" tab, change the "Environment" from "JavaScript VM" to "Injected Provider - MetaMask". Remix will prompt you to connect your wallet. Approve the connection in the MetaMask popup.
Select your compiled contract from the dropdown menu and click "Deploy". MetaMask will pop up again, asking you to confirm the transaction. You will see an estimated gas fee. Gas prices fluctuate based on network congestion; you can check current rates on Etherscan. Confirm the transaction.
Wait for the confirmation. Once complete, MetaMask will show a success message, and Remix will display the deployed contract instance. Copy the contract address displayed in Remix. This unique string of characters is your contract's identity on the blockchain.
Verifying and Interacting with Your Contract
Your contract is now live, but it is currently opaque to the public. To make it readable and usable by others, you need to verify its source code on a block explorer like Etherscan.
Paste your contract address into the Etherscan search bar. Initially, you will only see raw bytecode. Click the "Contract" tab and select "Verify and Publish". Etherscan will ask for the compiler version, optimization settings, and the full source code. Paste the code from your Remix file. Once verified, Etherscan will generate a user-friendly interface showing the ABI (Application Binary Interface).
Now, anyone can interact with your contract directly from Etherscan. Scroll down to the "Write Contract" section, connect your wallet, and try changing the number again. You can also embed this interaction into your own website using libraries like ethers.js or web3.js.
Security Best Practices and Pitfalls
Deployment is not the end; it is the beginning of maintenance. Smart contract vulnerabilities are a major issue in the crypto space. High-profile hacks often result from simple mistakes. Here are critical rules to follow:
- Use Reentrancy Guards: Prevent other contracts from calling your function recursively before the current execution finishes. This stops attackers from draining funds.
- Check External Calls: Always handle failures when interacting with other contracts. Use the Checks-Effects-Interactions pattern to ensure state changes happen before external calls.
- Limit Access: Use modifiers like `onlyOwner` to restrict sensitive functions to authorized addresses. However, be aware that single-owner contracts are centralization risks.
- Audit Your Code: For any contract handling significant value, hire a professional auditing firm. Tools like Slither or MythX can help catch static analysis issues, but human review is irreplaceable.
Remember, immutability is a double-edged sword. While it ensures trust, it also means you cannot patch bugs after deployment. Plan for upgrades by using proxy patterns if necessary, allowing you to swap out the implementation logic while keeping the same contract address and storage layout.
How much does it cost to deploy a smart contract?
The cost varies based on network congestion and the complexity of your contract. On Ethereum mainnet, deployment can range from $5 to over $100 in gas fees. Layer 2 solutions like Polygon or Arbitrum offer significantly lower costs, often under $0.01. Testnets are free.
Can I edit my smart contract after deployment?
No, smart contracts are immutable by design. Once deployed, the code cannot be changed. To update functionality, you must deploy a new contract version and migrate users or data to it, often using proxy patterns.
Is Remix IDE safe to use for development?
Yes, Remix is an open-source tool widely used by the community. However, always double-check URLs to avoid phishing sites. For highly sensitive projects, consider using local IDEs like VS Code with Hardhat or Foundry for better security control.
What is the difference between Solidity and Vyper?
Solidity is similar to JavaScript and C++, offering extensive features and libraries. Vyper is inspired by Python, prioritizing simplicity and security by removing complex features that could lead to vulnerabilities. Solidity is more popular, but Vyper is gaining traction for its safety-first approach.
Do I need to know JavaScript to develop smart contracts?
Not strictly, but it helps. While Solidity is its own language, integrating your contract with a frontend website requires JavaScript or TypeScript. Libraries like ethers.js bridge the gap between your dApp and the blockchain.
 Finance